Add Save Snapshot to the bottom toolbar, pause both videos at the desired frames, then tap Save Snapshot → Save Image. Open Photos to check the saved JPEG.
Add the image-saving button
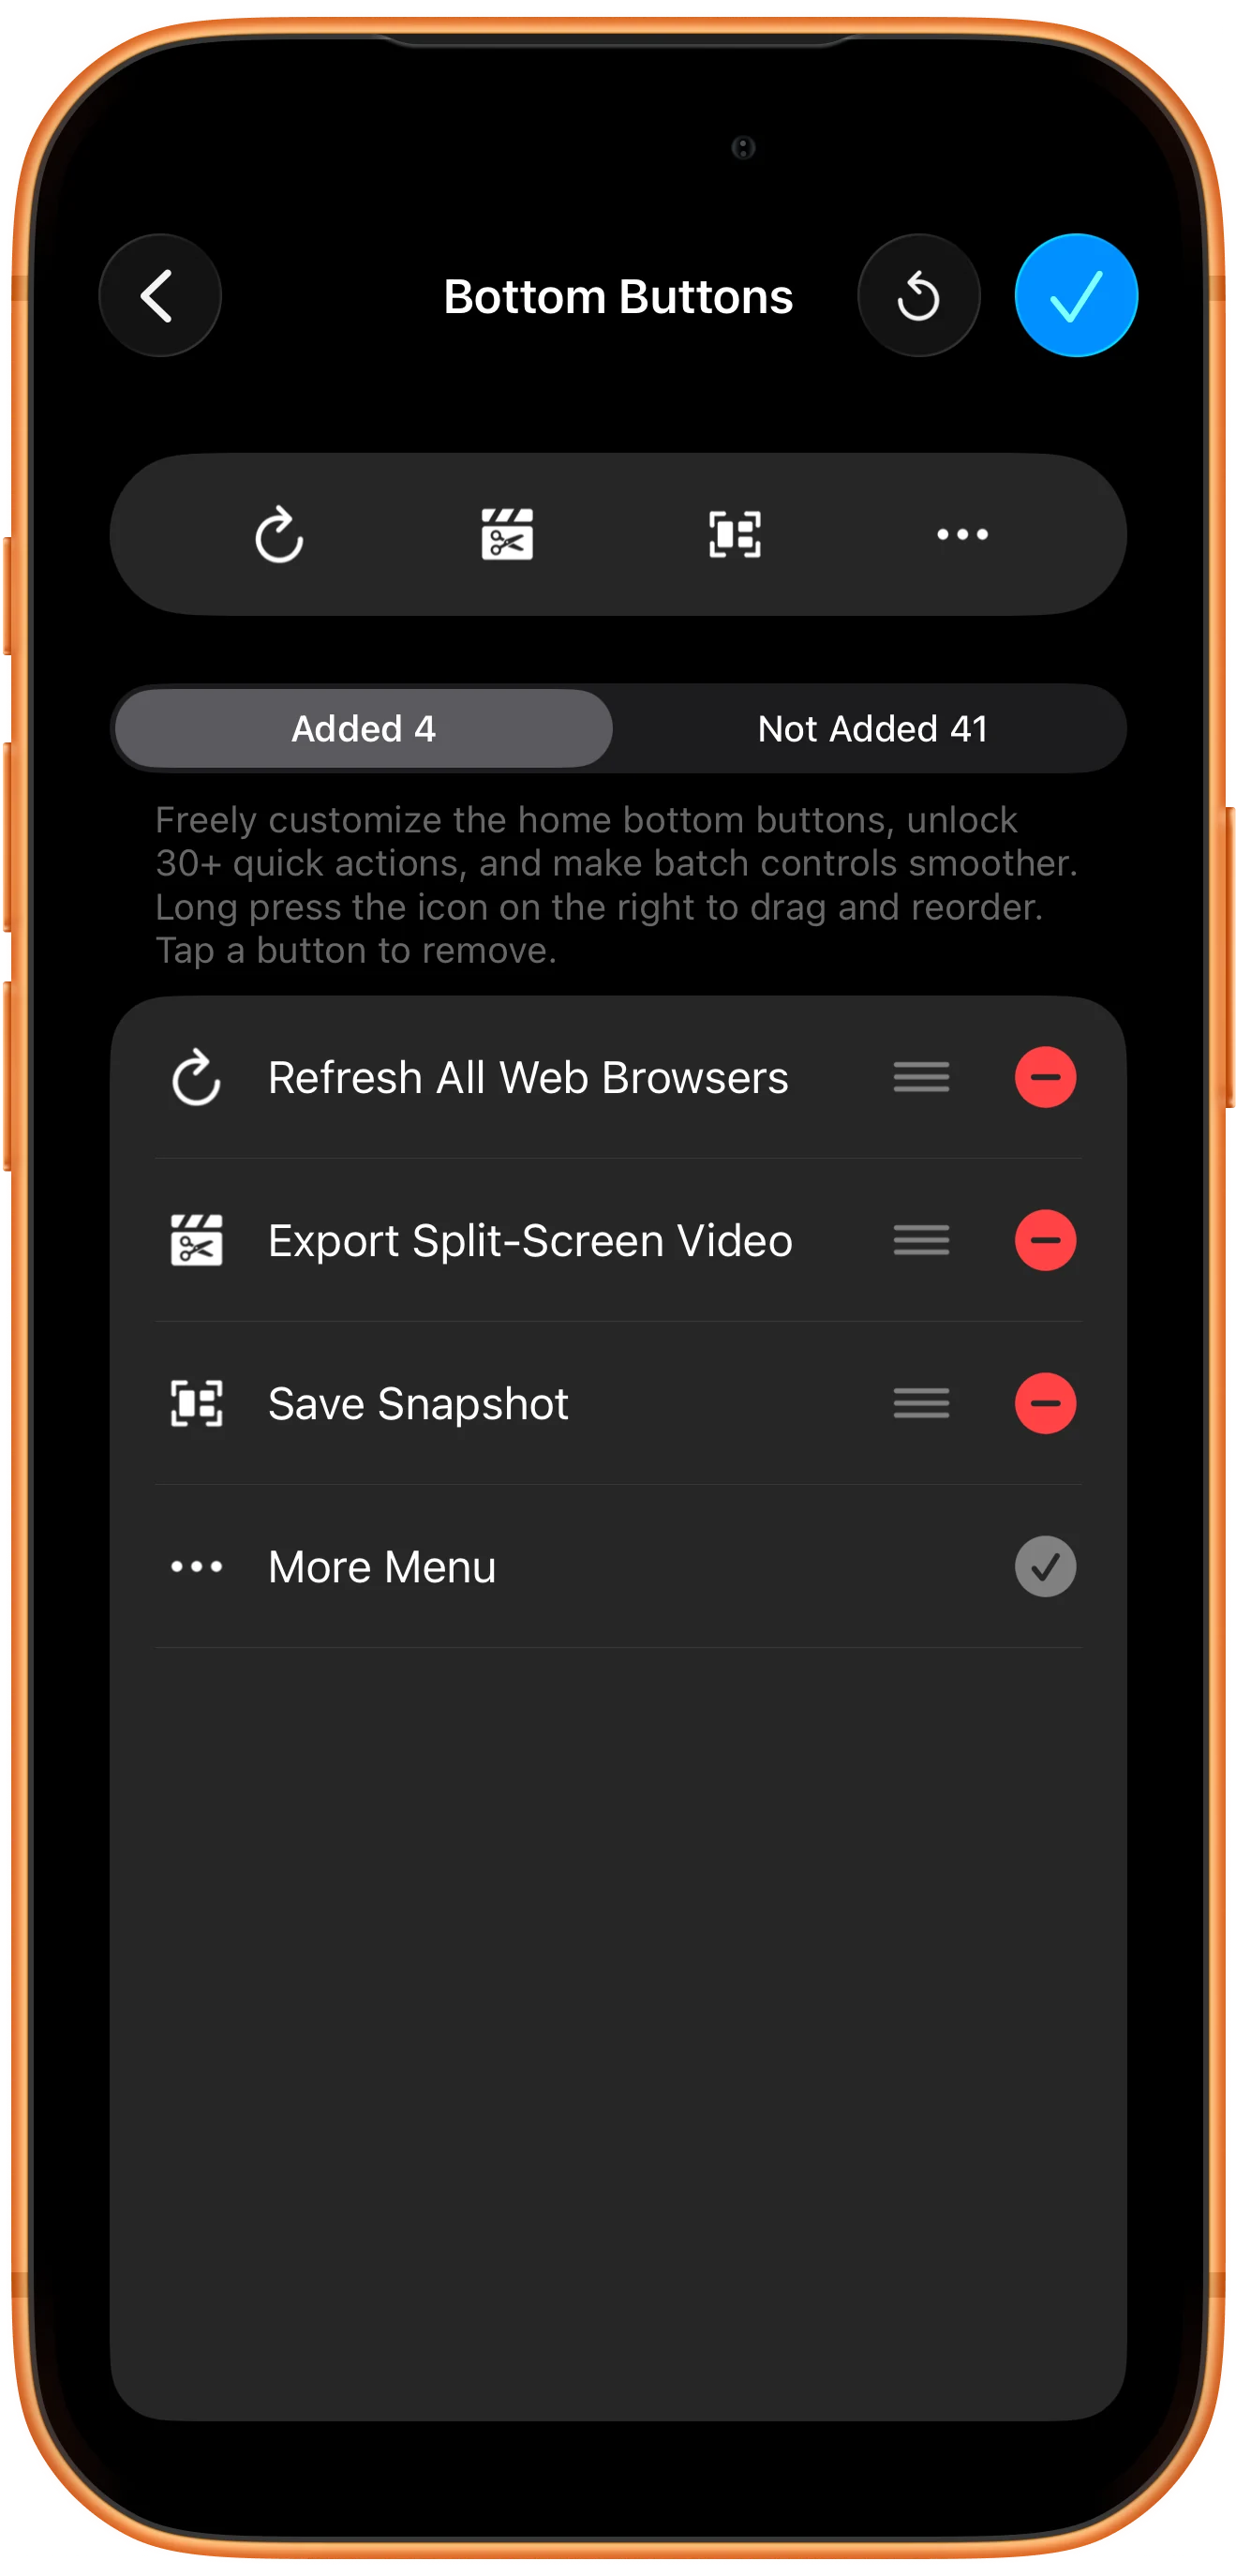
Open More → Customize Home Bottom Buttons. Find Save Snapshot in the available actions and add it, then return to the workspace.
Prepare the comparison
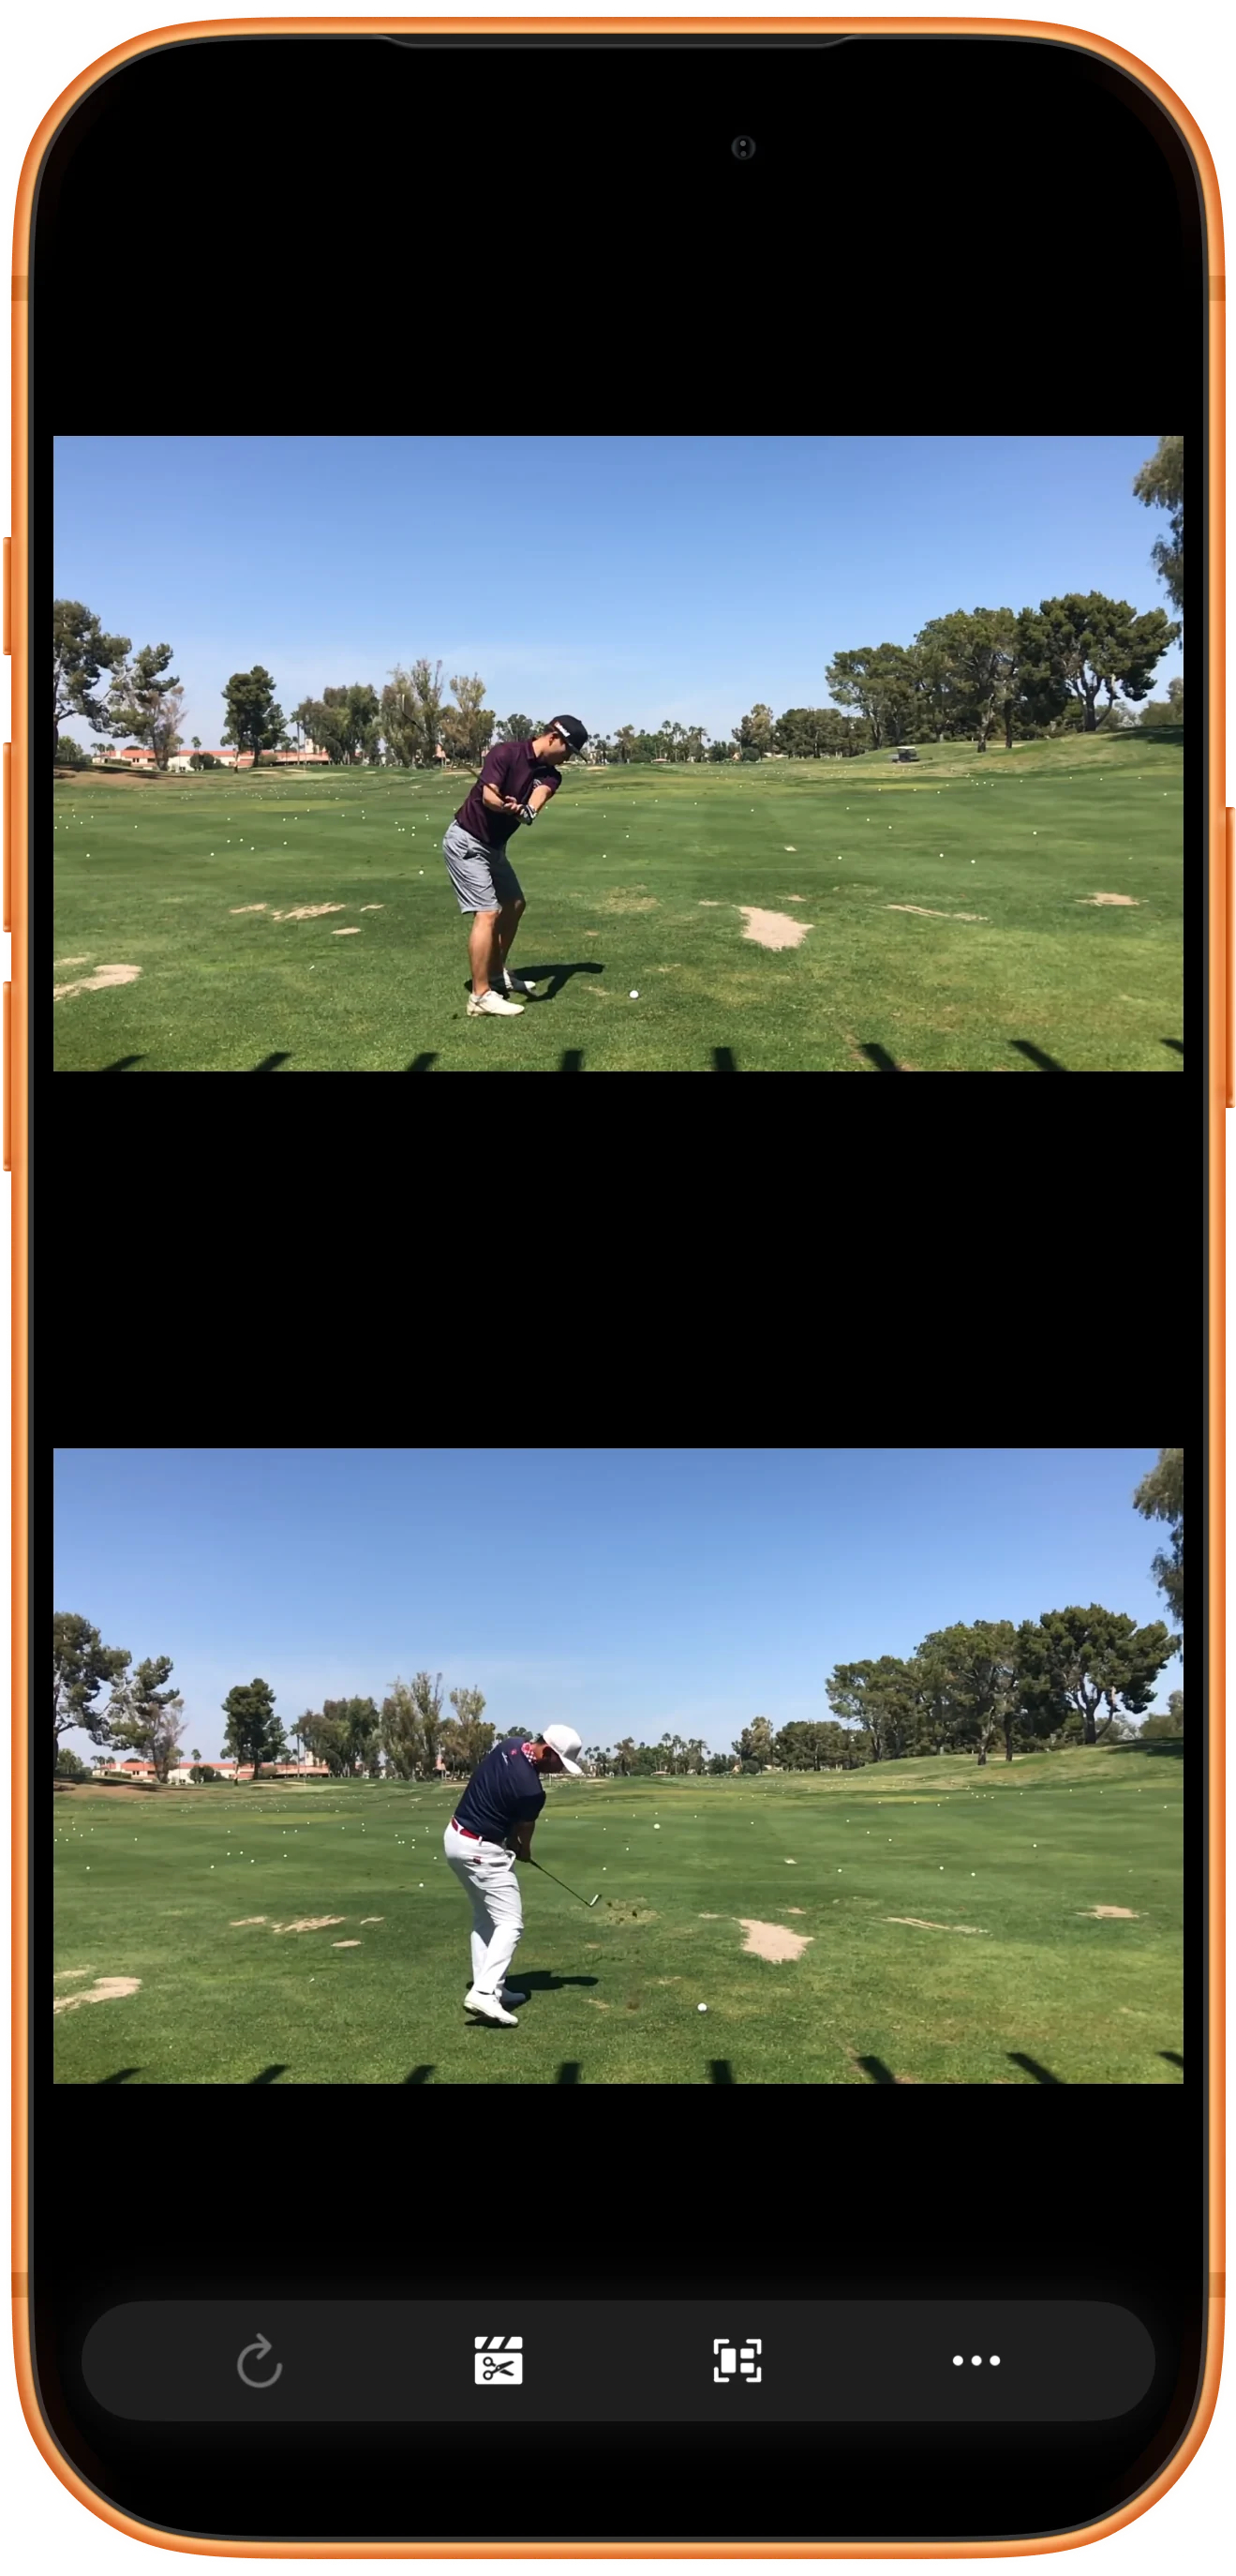
Load both clips, choose the layout, and pause at the moments you want to compare. Check cropping and orientation before saving; the resulting picture follows the current split-screen composition.
Save through the share sheet
Tap Save Snapshot to open the system share sheet, then choose Save Image. The available destinations depend on your device and installed apps.
Open and inspect the JPEG
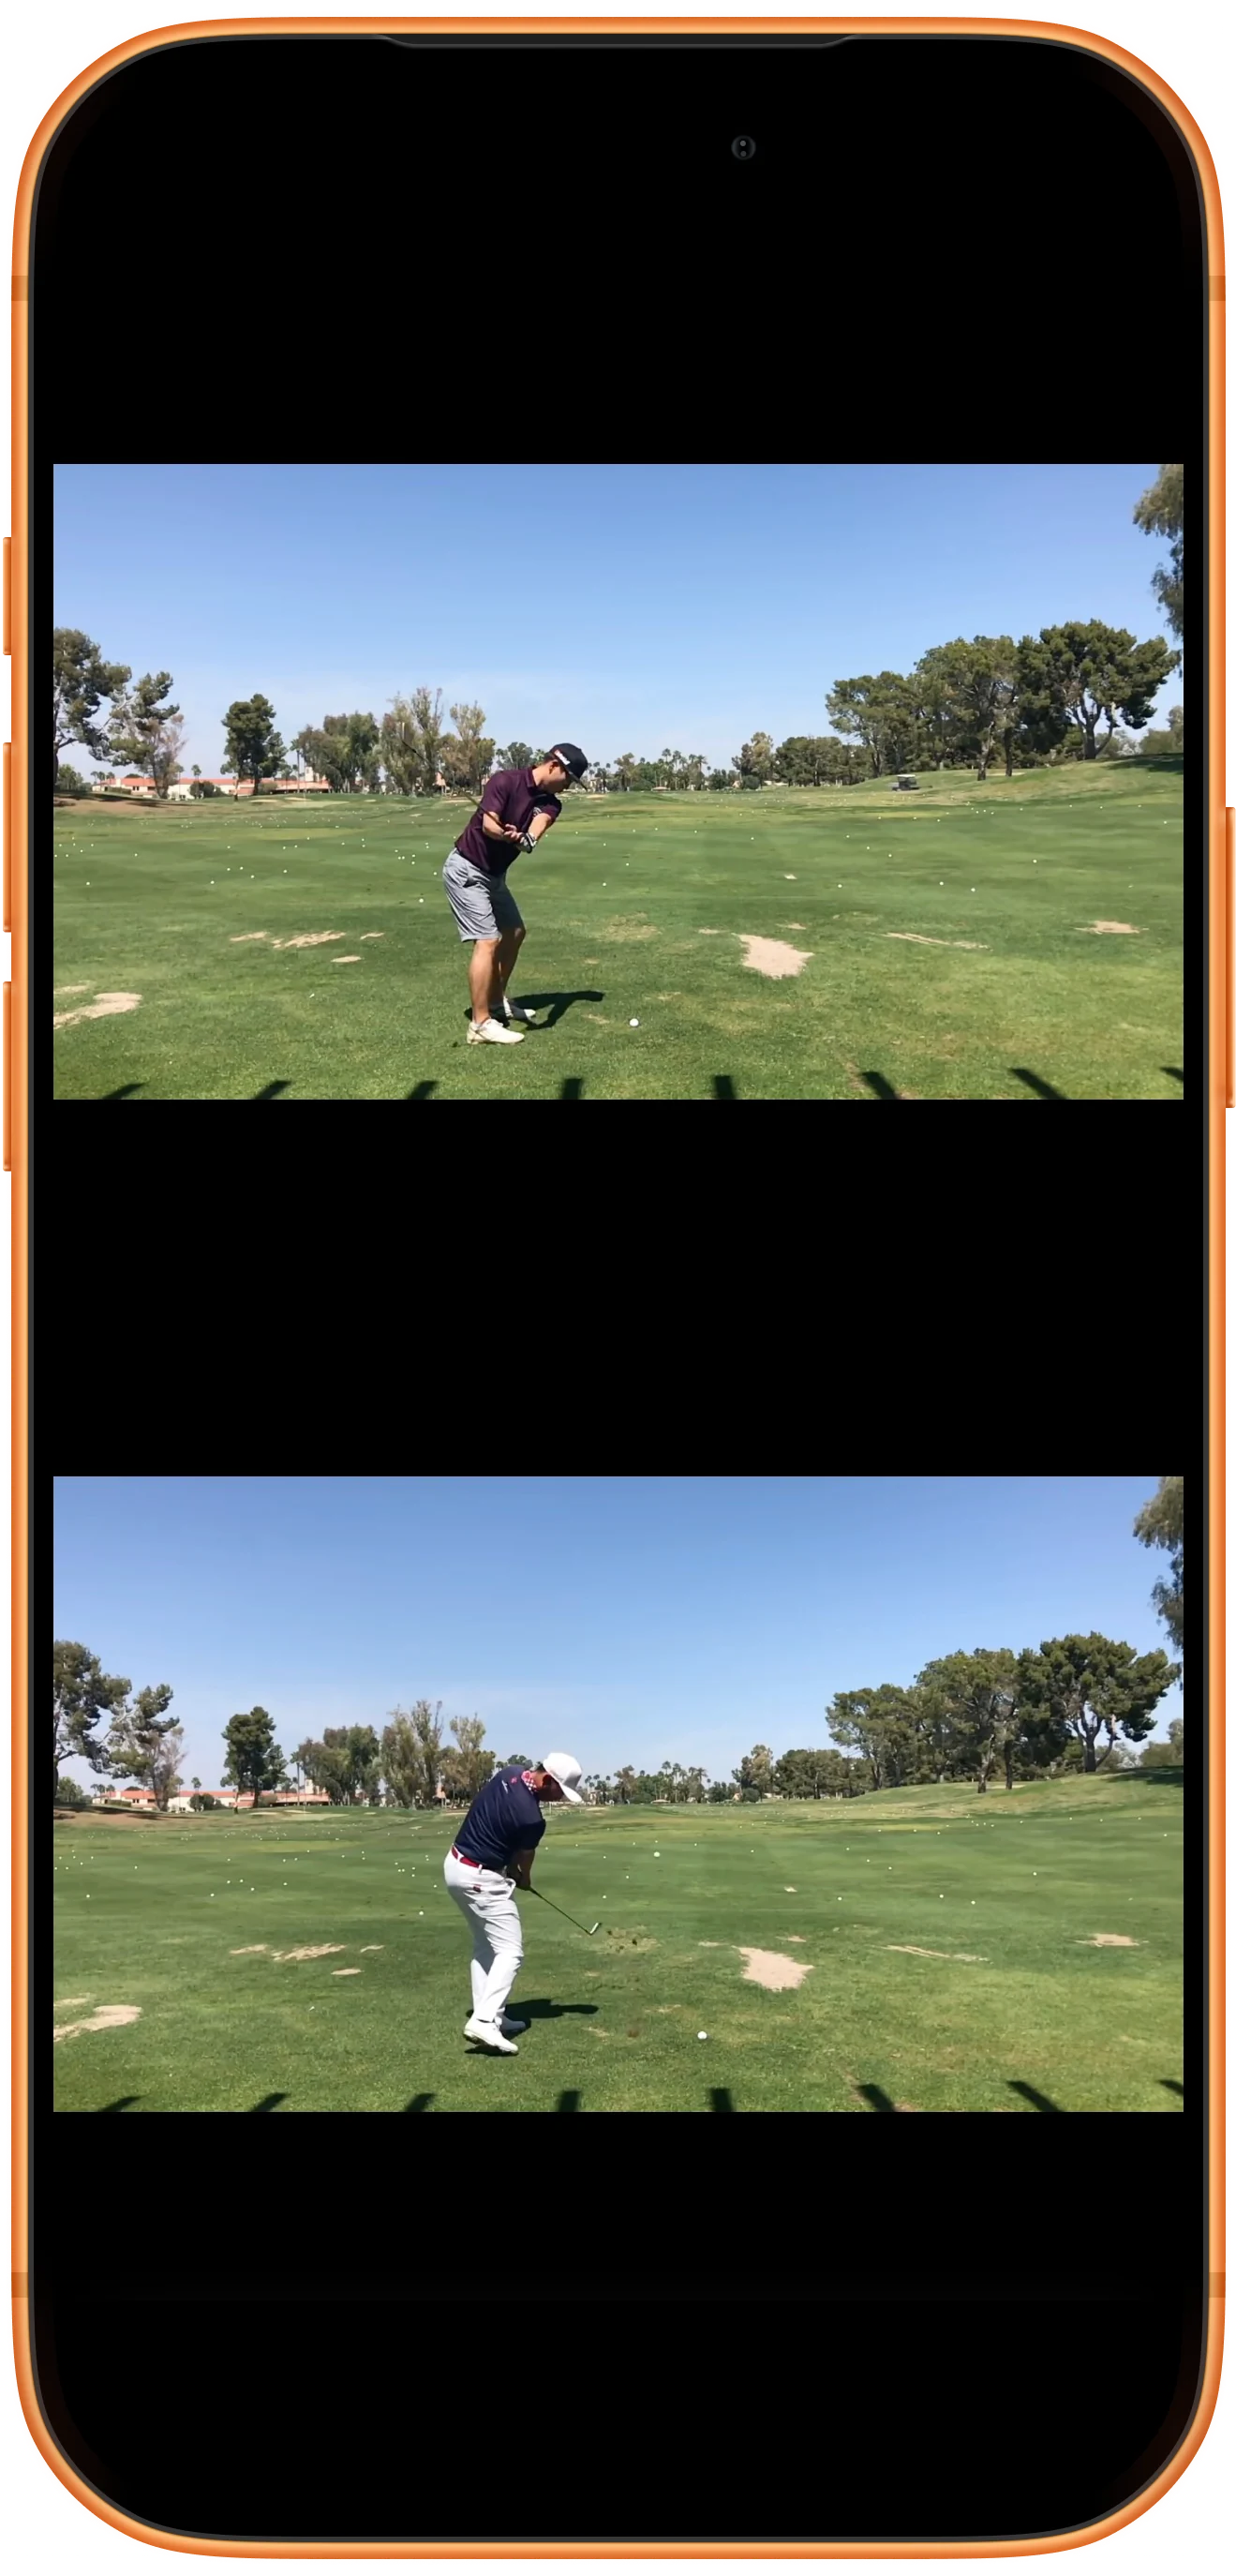
Open the saved image in Photos and tap once to hide the viewer controls. Check that both video frames appear without player buttons. This example saves a 1206 × 2160 JPEG.
More possibilities
Useful details
Check these details as you follow the steps.
Pause before capturing
Pausing makes it easier to choose a specific pose in each video. Use frame controls or checkpoints when a small timing difference matters.
Save a workspace separately
The image is a finished still. If you want to change the clips or continue playback later, also save a workspace bookmark.
Frequently asked questions
Does this button create a video?
No. It creates a static comparison image. Use Export Split-Screen Video when you need a file that plays.
Where is the saved image?
After choosing Save Image, look in Photos. If you chose another share destination, check that destination instead.
Split Screen Player
Try this with your own media
Open Split Screen Player and follow the steps with files you want to use.